If you try to boot OME on an XCP-ng box, you might end up with a black screen. How disappointing, I know.
But, during my latest insomnia, I found the explanation: Dell removed the Xen driver needed to "speak" to the disk and network interfaces. I'll show you how you can have an OME VM working on XCP-ng!
Convert the image to a supported disk file (.vhd)
First, you need to get the latest version of OME directly from the Dell site. Choose the KVM flavor. Then, on a Linux box, you need the qemu-img tool (install it with apt install qemu-utils).
Unzip the downloaded OME, and execute this command to convert the file:
qemu-img convert -O vpc openmanage_enterprise.qcow2 OME.vhd
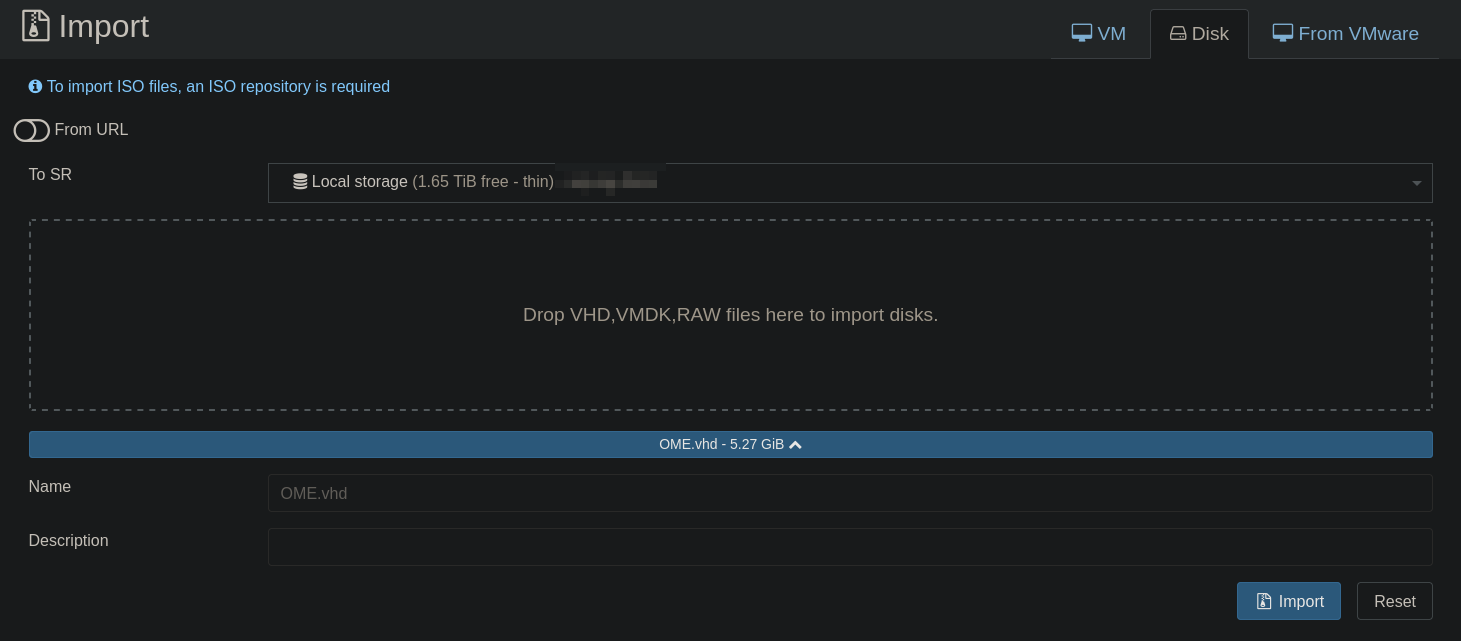
Now you have your VHD, ready to be imported into XCP-ng! Go to your Xen Orchestra, and import the VHD file:
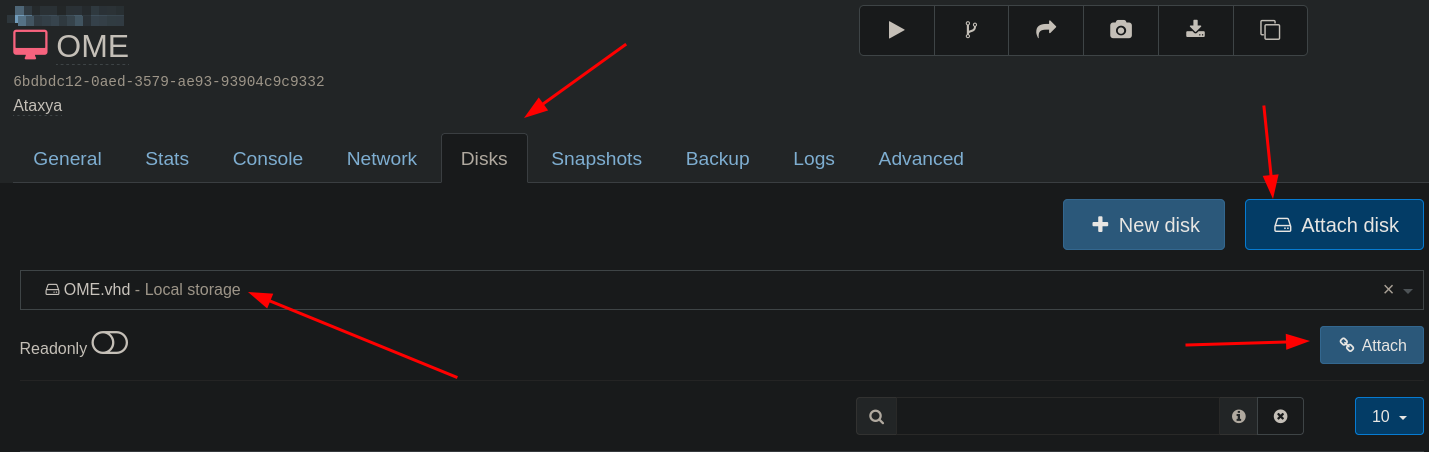
When the import is finished, create a new VM without disk.

Attach the disk to the newly created VM:
And in advanced, change the boot firmware to uefi:

Don't boot it yet! We need to go into rescue mode to upload the drivers.
Rescue mode and setup
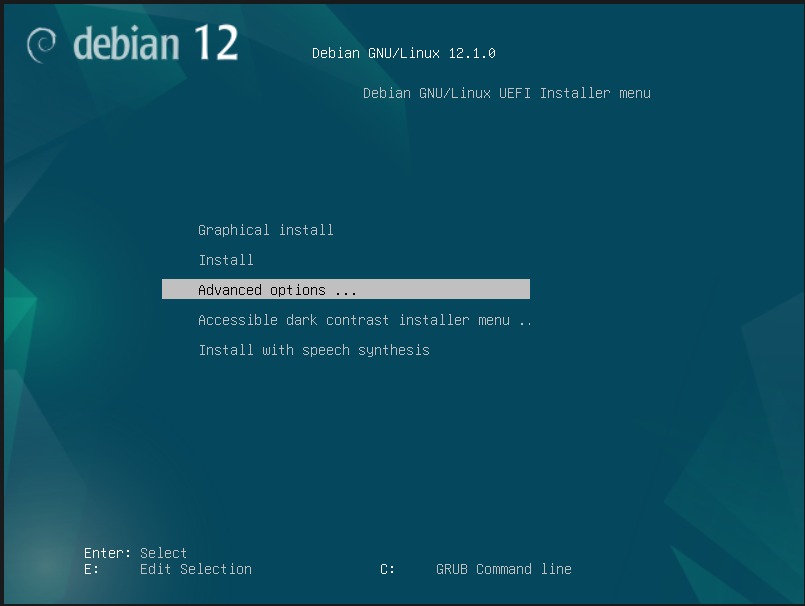
I'll use a Debian ISO for rescue mode. Insert the ISO and change the boot order in the Advanced tab:


Now, follow me!
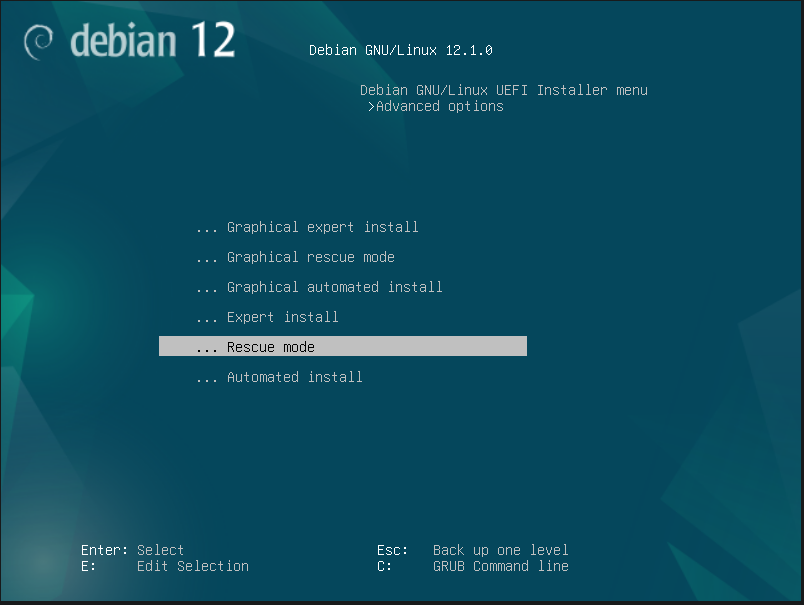
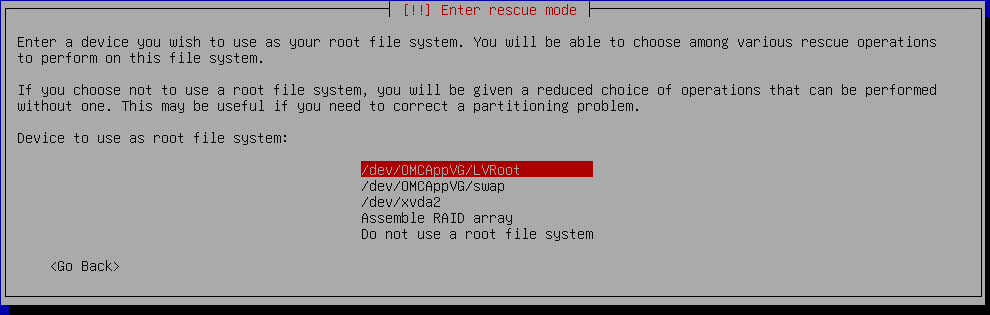
Follow the installer, and configure the network to download the missing drivers. Now, the "fun part." Select /dev/OMCAppVG/LVRoot as the root file system:
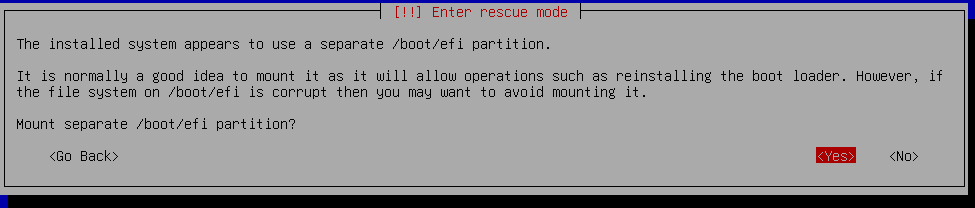
You need to mount the efi partition too:
Now execute the installer environment shell:
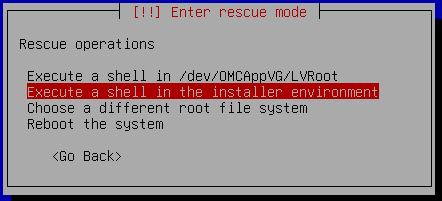
Our disk is mounted on the /target directory.
Install the driver
You can get the missing driver from an installed OpenSUSE. But, because I'm a cool person, I'll let you skip this step by providing the needed driver from my infrastructure:
http://ataxya.net/download/xen-blkfront.ko
http://ataxya.net/download/xen-netfront.ko
Let's download the drivers on our rescue box! But first, we need to chroot into our environment:
for x in sys proc run dev tmp; do mount --bind /$x /target/$x; done
chroot /target
# The prompt shoud look like this:
sh-4.4#
And now downloading the drivers:
wget http://ataxya.net/download/xen-blkfront.ko
wget http://ataxya.net/download/xen-netfront.ko
Now that we have the drivers, we need to move them to the right place:
for xen-blkfront.ko
mv xen-blkfront.ko /lib/modules/5.14.21-150400.24.108-default/kernel/block/
for xen-netfront.ko
mv xen-netfront.ko /lib/modules/5.14.21-150400.24.108-default/kernel/net/
Great! The drivers are in place. We just have one more thing to do: regenerate the initrd!
dracut --kver 5.14.21-150400.108-default -f /boot/initrd-5.14.21-150400.24.108-default --force
Dracut will do its thing, and when it finishes, remove the Debian ISO and reboot.
If the GRUB menu displays, it's a win!
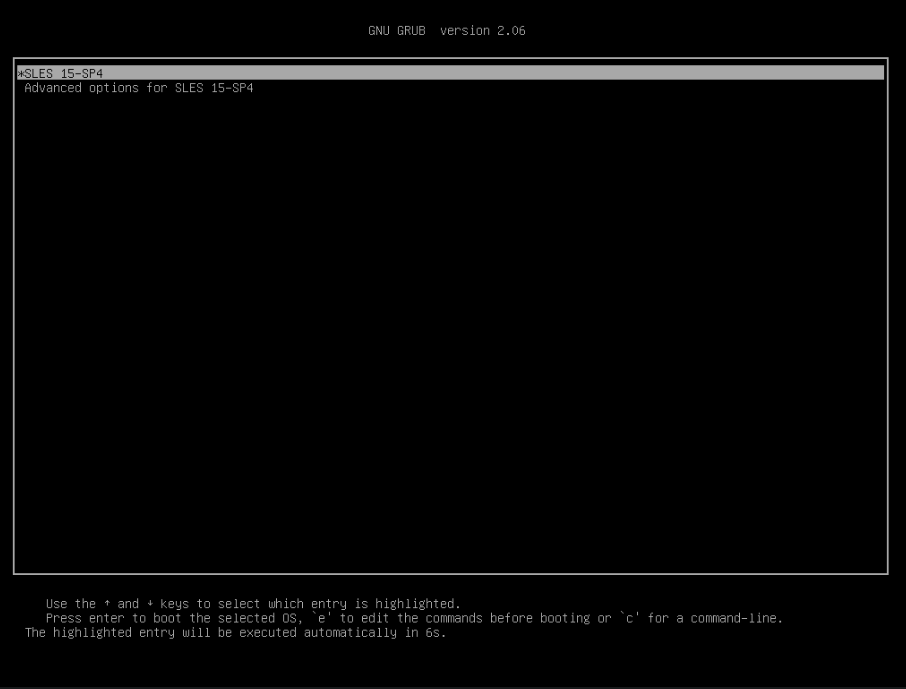
Five minutes later (or longer, depending on the CPU/RAM you allocated for the VM), you will see the menu:
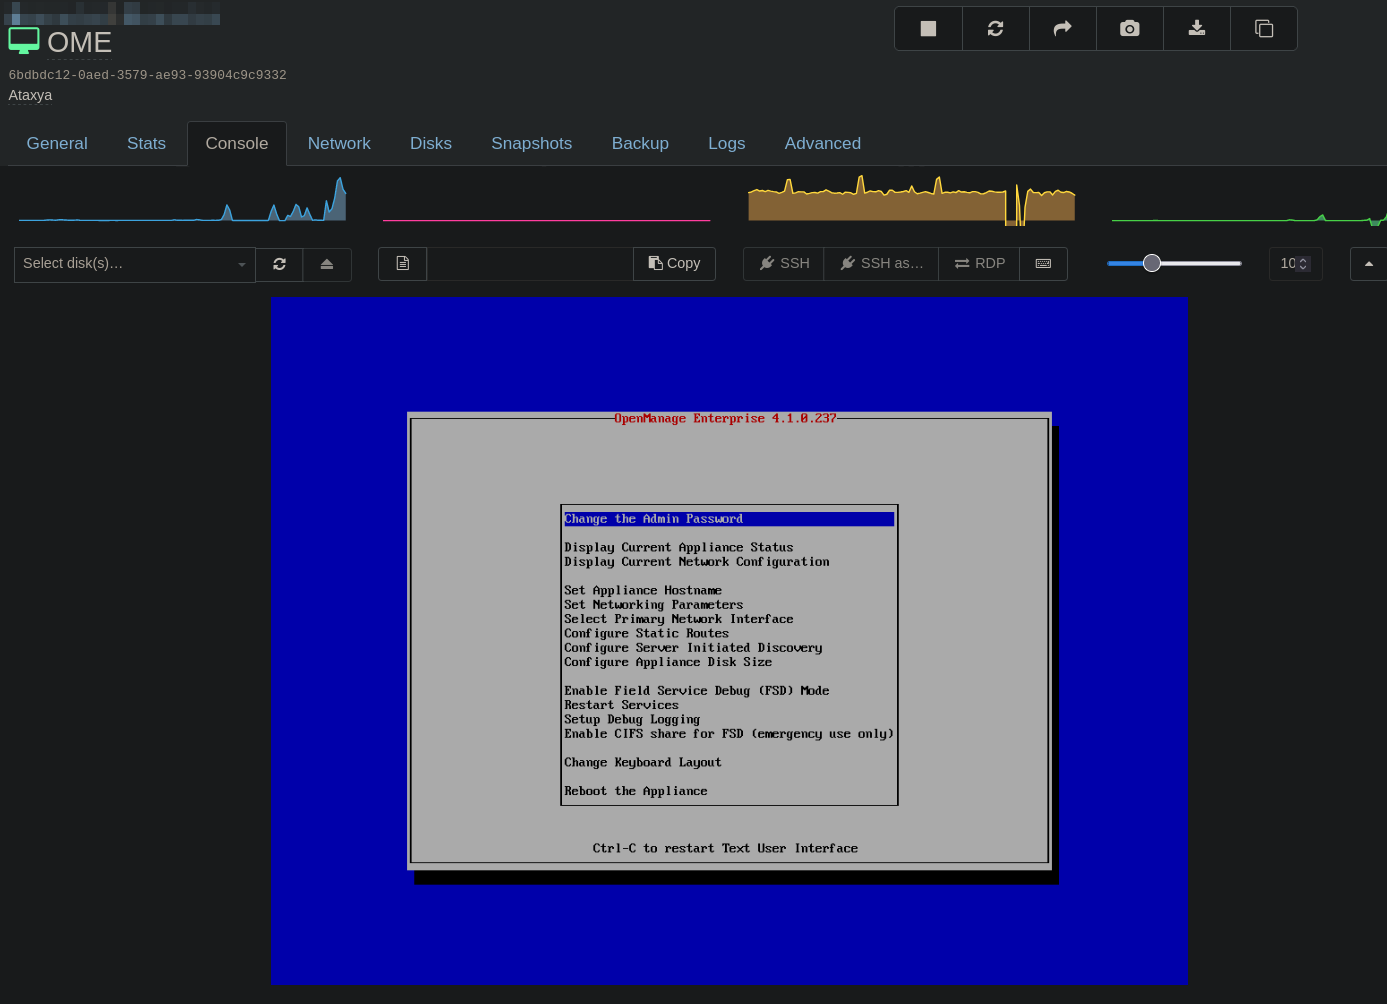
Configure your password, the network, and enjoy!
The origin of this blog post: https://xcp-ng.org/forum/topic/6049/importing-ovf-appliance-question